반응형
버튼을 누르면 다른 화면으로 넘어감.
MainActivity.java
package com.example.intentexample;
import androidx.appcompat.app.AppCompatActivity;
import android.content.Intent;
import android.os.Bundle;
import android.view.View;
import android.widget.Button;
import android.widget.EditText;
import android.widget.Toast;
public class MainActivity extends AppCompatActivity {
Button btn_move;
EditText editText;
@Override
protected void onCreate(Bundle savedInstanceState) {
super.onCreate(savedInstanceState);
setContentView(R.layout.activity_main);
btn_move = findViewById(R.id.btn_move);
editText = findViewById(R.id.editText);
btn_move.setOnClickListener(new View.OnClickListener() {
@Override
public void onClick(View v) {
String str = editText.getText().toString();
editText.setText("clear");
Intent intent = new Intent(MainActivity.this, SubActivity.class);
intent.putExtra("str",str);
startActivity(intent);
}
});
}
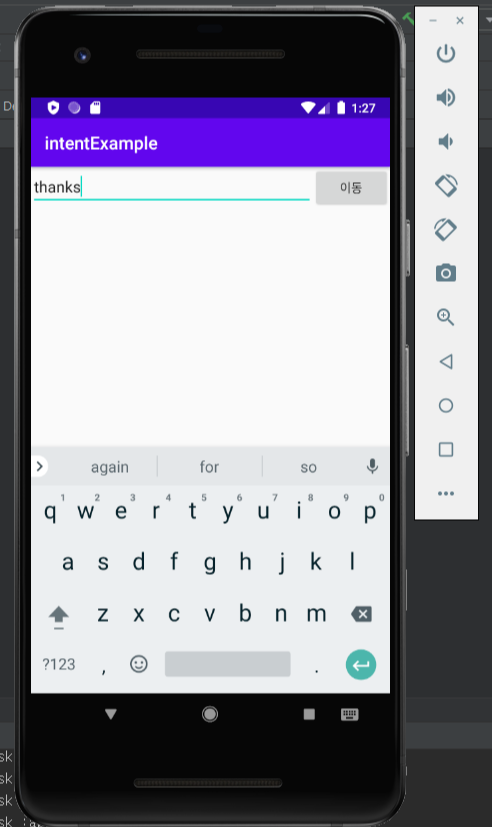
}이동이라는 버튼을 누르면 "글자를 입력하세요" 창이 clear로 변하고 다음 창으로 thanks를 가지고 넘어감.
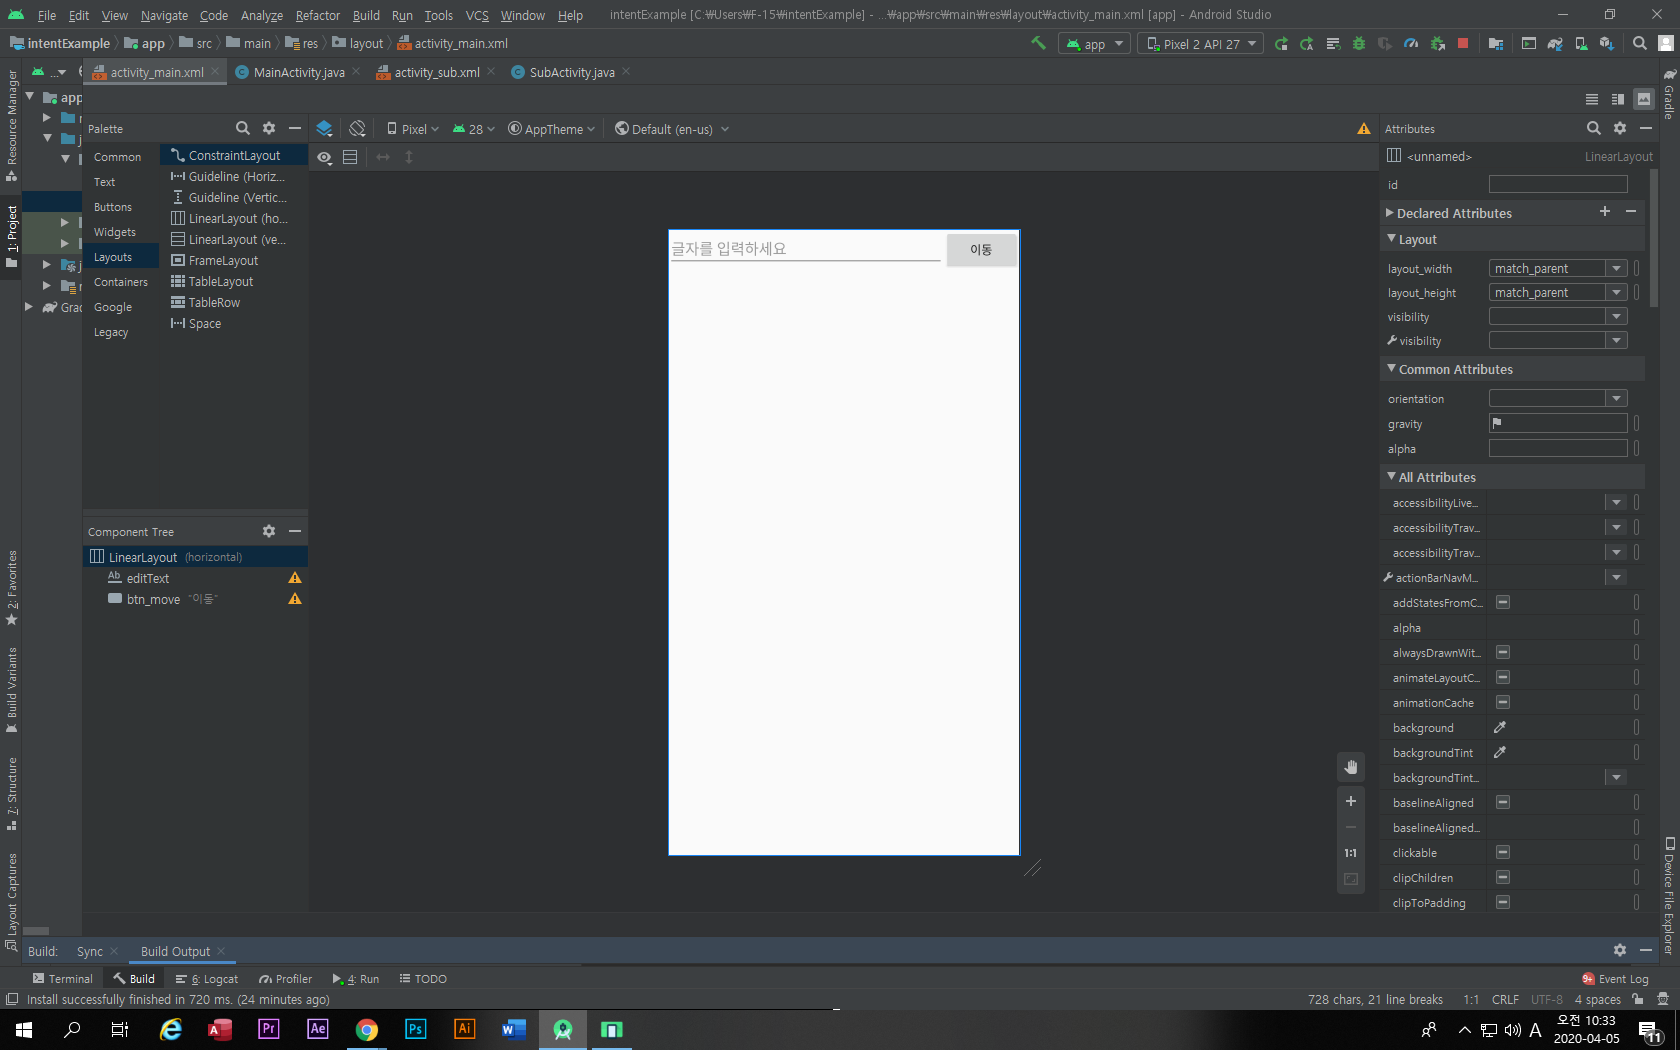
activity_main.xml
<?xml version="1.0" encoding="utf-8"?>
<LinearLayout xmlns:android="http://schemas.android.com/apk/res/android"
    xmlns:app="http://schemas.android.com/apk/res-auto"
    xmlns:tools="http://schemas.android.com/tools"
    android:layout_width="match_parent"
    android:layout_height="match_parent"
    tools:context=".MainActivity">

    <EditText
        android:id="@+id/editText"
        android:layout_width="wrap_content"
        android:layout_height="wrap_content"
        android:layout_weight="1"
        android:hint = "글자를 입력하세요" />

    <Button
        android:id="@+id/btn_move"
        android:layout_width="wrap_content"
        android:layout_height="wrap_content"
        android:text="이동" />

</LinearLayout>
"글자를 입력하세요" 창은 EditText, weight를 1로해서 길게 만듬
이동이라는 버튼은 wrap_content로 글씨 길이에 맞게 설정
1번째 화면
SubActivity.java
package com.example.intentexample;

import androidx.appcompat.app.AppCompatActivity;

import android.content.Intent;
import android.os.Bundle;
import android.view.View;
import android.widget.Button;
import android.widget.TextView;

public class SubActivity extends AppCompatActivity {
    private TextView textSub;
    private Button btn_back;

    @Override
    protected void onCreate(Bundle savedInstanceState) {
        super.onCreate(savedInstanceState);
        setContentView(R.layout.activity_sub);

        textSub = findViewById(R.id.textSub);
        btn_back = findViewById(R.id.btn_back);
        btn_back.setOnClickListener(new View.OnClickListener() {
            @Override
            public void onClick(View v) {
                finish(); // 액티비티 종료 메인화면으로
            }
        });
        Intent intent = getIntent();
        String str = intent.getStringExtra("str");
        textSub.setText(str);
    }
}
activity_sub.xml
<?xml version="1.0" encoding="utf-8"?>
<LinearLayout xmlns:android="http://schemas.android.com/apk/res/android"
    xmlns:app="http://schemas.android.com/apk/res-auto"
    xmlns:tools="http://schemas.android.com/tools"
    android:layout_width="match_parent"
    android:layout_height="match_parent"
    android:orientation="vertical"
    tools:context=".SubActivity" >

    <Button
        android:id="@+id/btn_back"
        android:layout_width="match_parent"
        android:layout_height="wrap_content"
        android:text="메인으로 돌아가기" />

    <TextView
        android:id="@+id/textSub"
        android:layout_width="match_parent"
        android:layout_height="wrap_content"
        android:layout_weight="1"
        android:gravity="center_vertical|center_horizontal"
        android:text="TextView" />
</LinearLayout>
public void onClick(View v) {
finish(); // 액티비티 종료 메인화면으로
}2번째 이동한 화면


토스트메세지
Toast.makeText(getApplicationContext(),"버튼이 눌렸습니다.",Toast.LENGTH_LONG).show();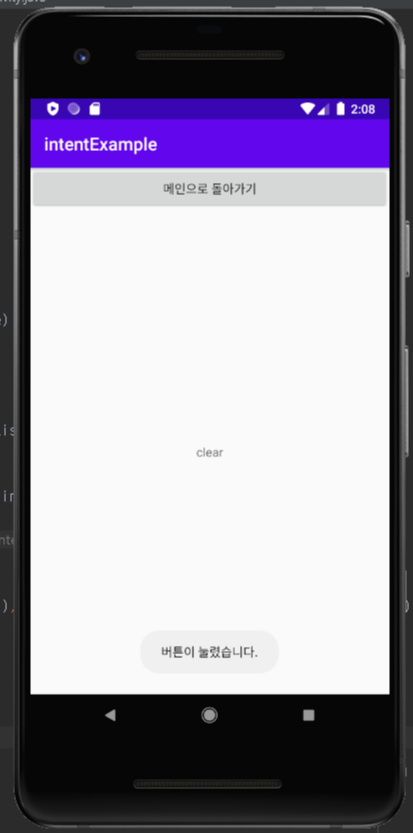
반응형
'2019~2020 > 안드로이드 스튜디오 기초' 카테고리의 다른 글
| [안드로이드 스튜디오] firebase와 연결하고 사용하기 (0) | 2020.05.23 |
|---|---|
| [안드로이드 스튜디오] paint 사용 (0) | 2020.04.19 |
| [안드로이드 스튜디오] canvas (그림판) (0) | 2020.04.19 |
| [안드로이드 스튜디오] 별점 앱 (0) | 2020.04.18 |
| [안드로이드 스튜디오]RadioButton 사용 (0) | 2020.04.12 |