파이어 베이스 주소 : https://firebase.google.com/?hl=ko
Firebase
Firebase는 고품질 앱을 빠르게 개발하고 비즈니스를 성장시키는 데 도움이 되는 Google의 모바일 플랫폼입니다.
firebase.google.com
1. 우선 firebase 프로젝트를 만든다. (굳이 처음에 안만들어도 안드로이드 스튜디오에서 만들 수 있음.)
프로젝트 제목은 20200523으로 설정하였다.

2. 여기서 실시간 데이터 베이스를 선택한다.

3. 실시간 데이터베이스를 들어가면 이런 화면이 뜨는데 여기서 데이터 옆에 규칙을 눌러준다.

4. 규칙에 들어가면 이런 화면이 뜨는데 데이터베이스에 저장된 내용을 읽고 쓰기 위해서 read와 write를 true로 바꿔준다.(기본 상태는 false이다.)

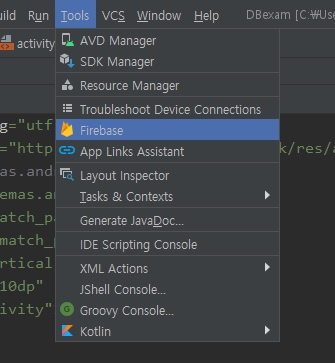
5. 안드로이드 스튜디오에서 새로운 프로젝트를 만든뒤에 Tools에 firebase를 눌러준다.
6. 파이어베이스를 누르면 이런 화면이 나오게 되는데 여기서 Realtime Database를 눌러준다.

7. 새로운 프로젝트를 만들거나 이미 만들어놓은 프로젝트를 선택한 뒤 Connect to Firebase를 누른다.

그러면 이렇게 로그인 화면이 나오게 되고 파이어베이스를 사용할 때 쓰는 구글 아이디로 로그인하면 된다.

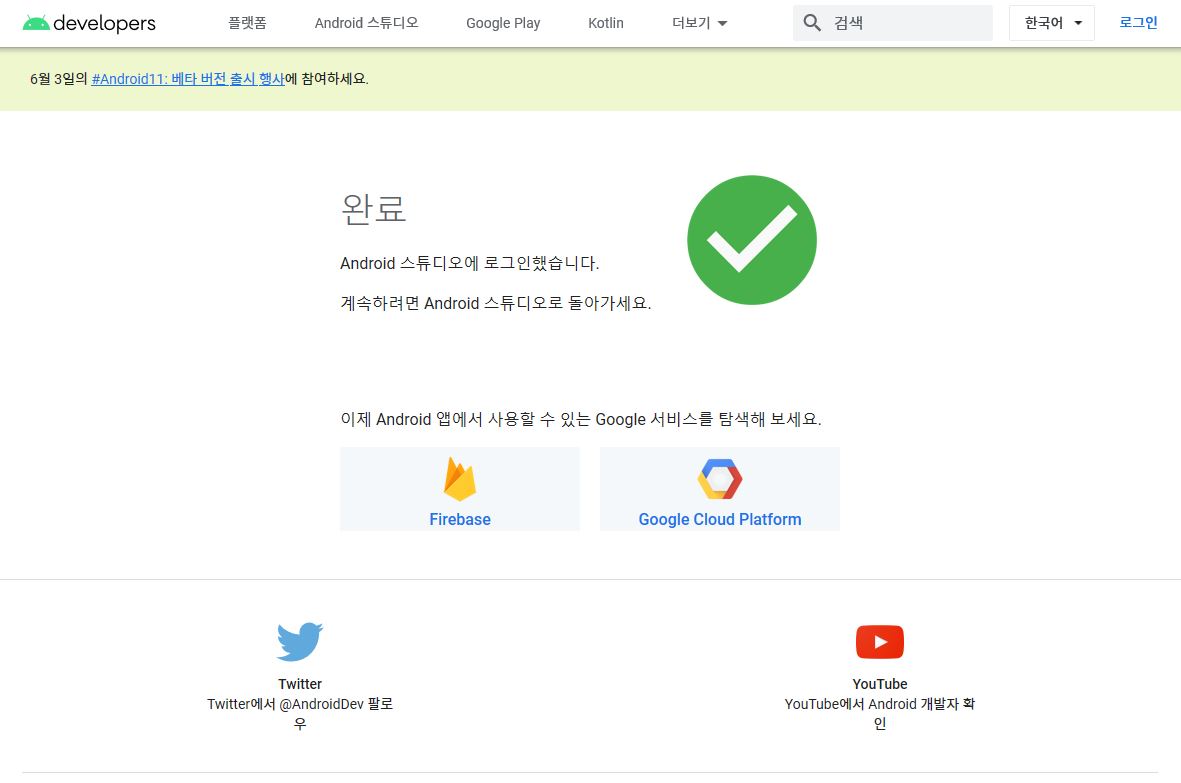
이런 화면이 나오게 되는데

허용을 누르면 이렇게 완료라는 화면이 나온다.
밑에는 파이어베이스와 앱을 연결해주는 코드
1) MainActivitay.java
package com.example.dbexam;

import androidx.annotation.NonNull;
import androidx.appcompat.app.AppCompatActivity;

import android.os.Bundle;
import android.view.View;
import android.widget.Button;
import android.widget.EditText;
import android.widget.TextView;

import com.google.firebase.database.DataSnapshot;
import com.google.firebase.database.DatabaseError;
import com.google.firebase.database.DatabaseReference;
import com.google.firebase.database.FirebaseDatabase;
import com.google.firebase.database.ValueEventListener;

public class MainActivity extends AppCompatActivity {
    private TextView textView;
    private EditText editText;
    private Button button;

    DatabaseReference mRoootRef = FirebaseDatabase.getInstance().getReference();
    // DatabaseReference 는 데이터베이스에서 데이터를 읽고 쓰려면 꼭 필요
    DatabaseReference conditionRdf = mRoootRef.child("text");
    @Override
    protected void onCreate(Bundle savedInstanceState) {
        // 데이터의 변화를 알기 위해
        super.onCreate(savedInstanceState);
        setContentView(R.layout.activity_main);

        textView = (TextView) findViewById(R.id.textView);
        editText = (EditText) findViewById(R.id.editText);
        button = (Button) findViewById(R.id.button);
    }
    protected void onStart(){
        super.onStart();

        conditionRdf.addValueEventListener(new ValueEventListener() {
            @Override
            public void onDataChange(@NonNull DataSnapshot dataSnapshot) {
                // 데이터 값이 변했을 때마다 작동, text 안에 받아온 데이터 문자열을 넣어줌
                String text = dataSnapshot.getValue(String.class);
                textView.setText(text);

            }

            @Override
            public void onCancelled(@NonNull DatabaseError databaseError) {
                // 에러가 날 때 작동
            }
        });

        button.setOnClickListener(new View.OnClickListener() {
            @Override
            public void onClick(View v) {
                conditionRdf.setValue(editText.getText().toString());
            }
        });
    }


}
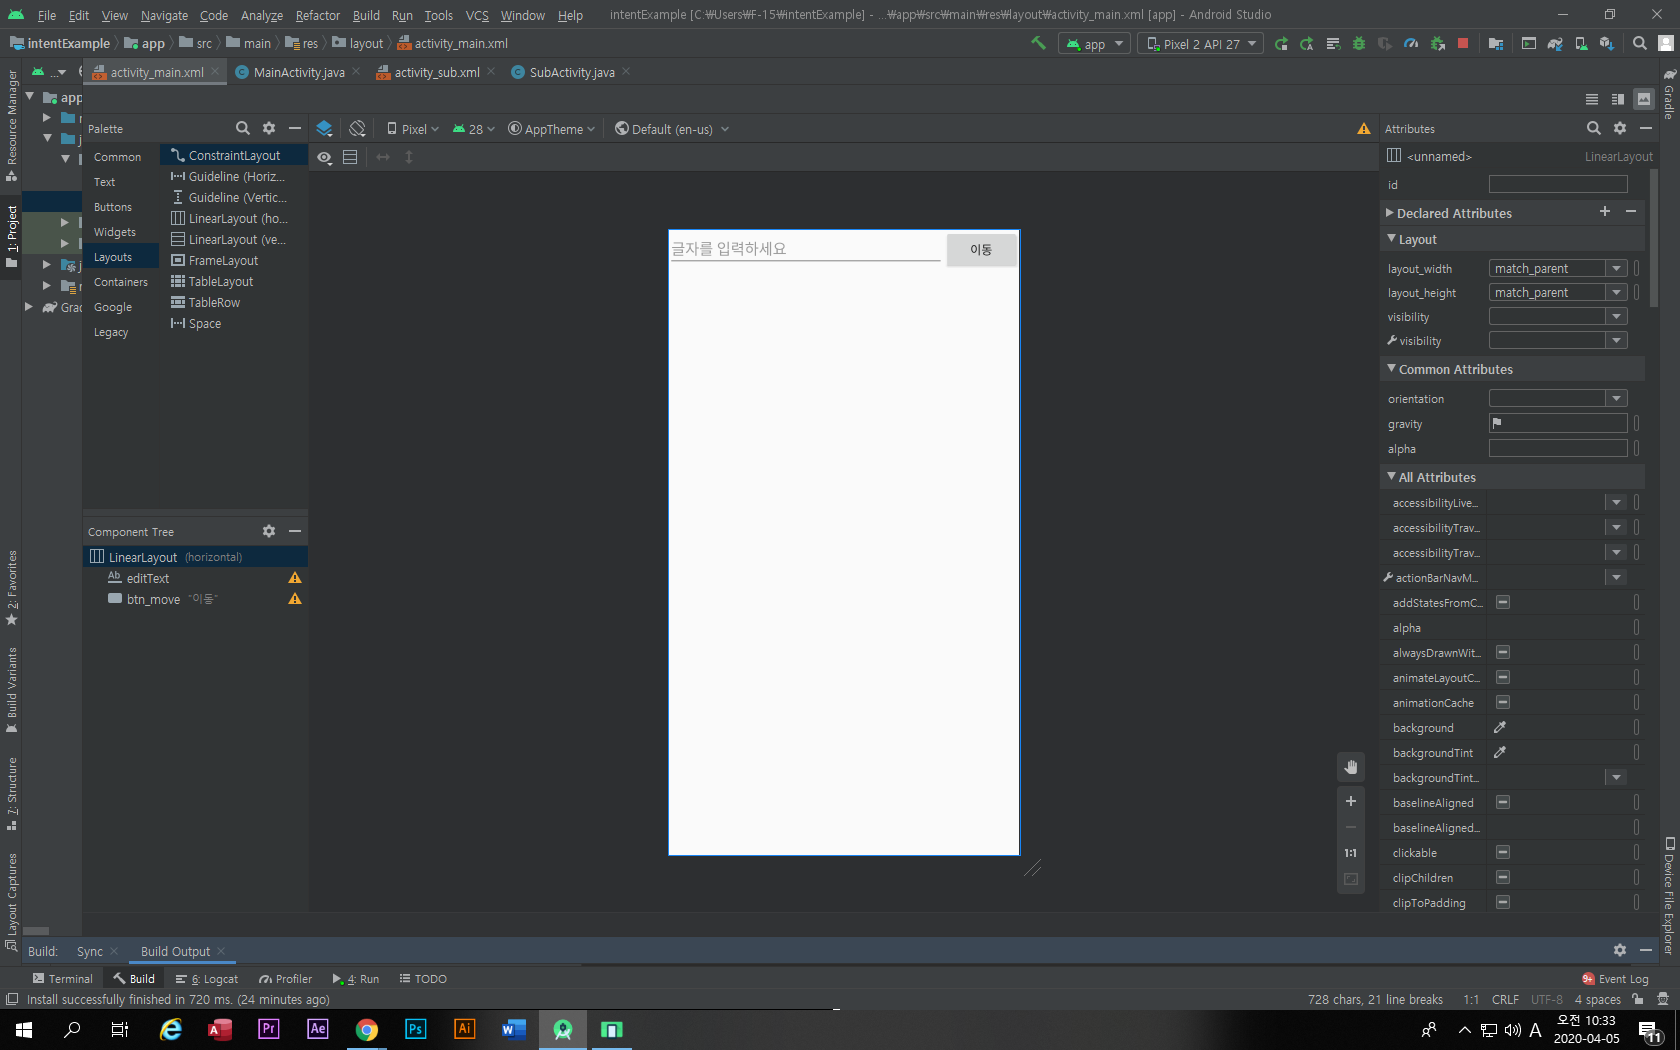
2) activity_main.xml
<?xml version="1.0" encoding="utf-8"?>
<LinearLayout xmlns:android="http://schemas.android.com/apk/res/android"
    xmlns:app="http://schemas.android.com/apk/res-auto"
    xmlns:tools="http://schemas.android.com/tools"
    android:layout_width="match_parent"
    android:layout_height="match_parent"
    android:orientation="vertical"
    android:paddingBottom="10dp"
    tools:context=".MainActivity">

    <TextView
        android:id="@+id/textView"
        android:layout_width="wrap_content"
        android:layout_height="0dp"
        android:textSize="30dp"
        android:layout_weight="1"
        android:layout_gravity="center_vertical|center_horizontal"
        android:text="TextView" />

    <LinearLayout
        android:layout_width="match_parent"
        android:layout_height="wrap_content"
        android:orientation="horizontal">
        <EditText
            android:id="@+id/editText"
            android:layout_width="0dp"
            android:layout_height="wrap_content"
            android:layout_weight="1"
            android:hint="TEXT를 입력하세요"
            android:inputType="text"
            />

        <Button
            android:id="@+id/button"
            android:layout_width="wrap_content"
            android:layout_height="wrap_content"
            android:text="Send" />
    </LinearLayout>
</LinearLayout>
안드로이드 스튜디오를 사용하기 전에는 앱인벤터로 firebase와 연결했는데 앱인벤터가 알다시피 제약이 많기에 불편했는데 안드로이드 스튜디오는 너무 쉽고 빠르게 잘 연결 되어서 좋았다.
'2019~2020 > 안드로이드 스튜디오 기초' 카테고리의 다른 글
| [안드로이드 스튜디오] paint 사용 (0) | 2020.04.19 |
|---|---|
| [안드로이드 스튜디오] canvas (그림판) (0) | 2020.04.19 |
| [안드로이드 스튜디오] 별점 앱 (0) | 2020.04.18 |
| [안드로이드 스튜디오]RadioButton 사용 (0) | 2020.04.12 |
| [안드로이드 스튜디오]intent 사용하기 (0) | 2020.04.05 |